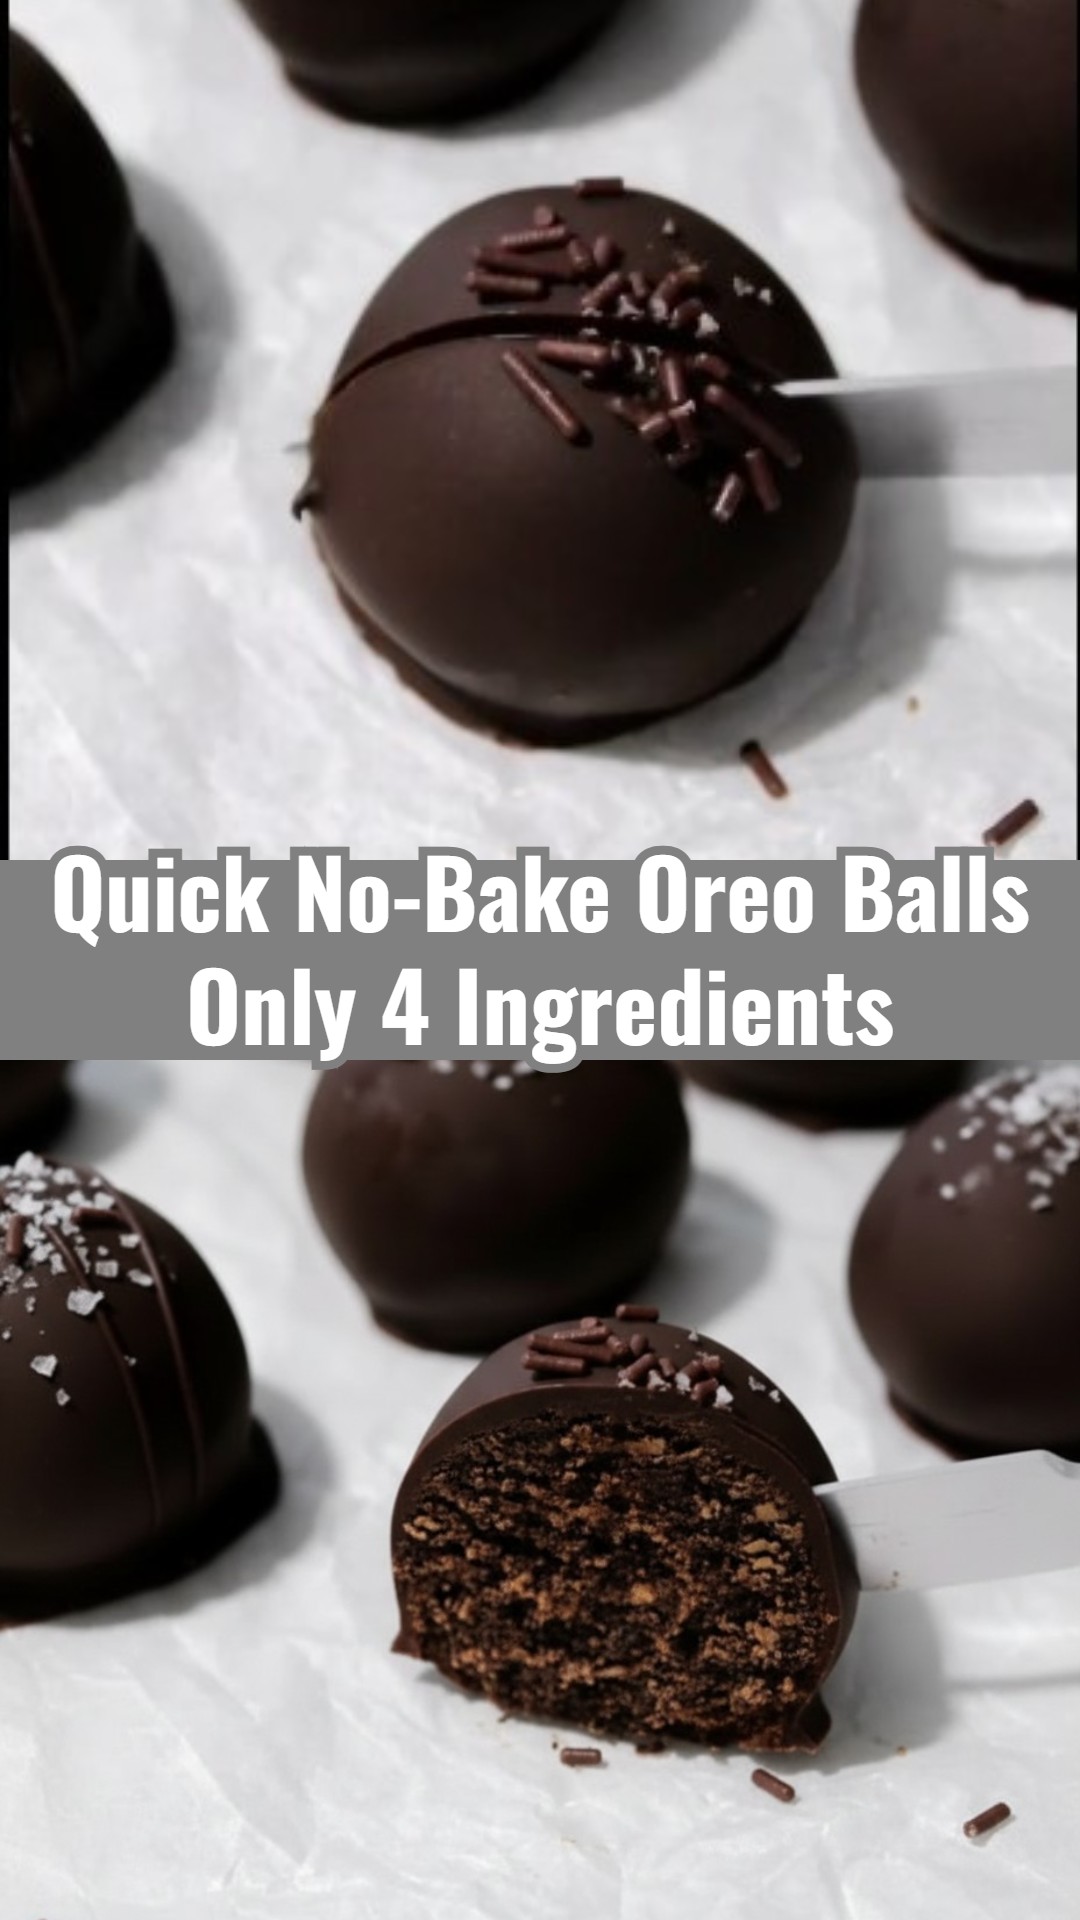
Life can get busy, but that doesn’t mean you have to skip out on delicious treats! Here at Everyday Easy Meals, we’re all about smart solutions that bring joy to your kitchen without adding stress. And these No Bake Oreo Balls are the perfect example! Forget complicated baking and long ingredient lists. This recipe is a game-changer for anyone craving a decadent dessert in a flash. We’ve cracked the code to making irresistible Oreo balls without the need for cream cheese or sweetened condensed milk, using just four simple ingredients you likely already have. They’re the ultimate fuss-free sweet, perfect for weeknight cravings, impromptu gatherings, or a fun project with the little ones. Get ready to delight everyone with these rich, chocolatey, and delightfully crunchy bites – absolutely no oven required!
Equipment Needed
- Food processor or rolling pin and a large zip-top bag
- Large mixing bowl
- Rubber spatula or spoon
- Small microwave-safe bowl (for melting chocolate)
- Baking sheet
- Parchment paper or wax paper
- Measuring cups and spoons
Ingredients
- 1 (14.3 oz) package Oreo cookies
- 1/2 cup unsalted butter, melted
- 1 teaspoon vanilla extract
- 10-12 oz chocolate melting wafers or chocolate chips
Shopping List
- Pantry: 1 (14.3 oz) package Oreo cookies, 10-12 oz chocolate melting wafers or chocolate chips
- Dairy & Eggs: 1/2 cup unsalted butter
- Baking & Spices: 1 teaspoon vanilla extract
Instructions
- Prepare the Oreos: Place the entire package of Oreo cookies (cream filling and all) into a food processor. Pulse until finely ground into crumbs. If you don’t have a food processor, place the cookies in a large zip-top bag and crush them with a rolling pin until fine.
- Combine ingredients: Transfer the Oreo crumbs to a large mixing bowl. Add the melted butter and vanilla extract. Mix well with a rubber spatula or spoon until the mixture is thoroughly combined and starts to come together.
- Form the balls: Roll the mixture into 1-inch balls. The mixture should be easy to handle and hold its shape. Place the formed balls on a baking sheet lined with parchment paper or wax paper.
- Chill: Place the baking sheet with the Oreo balls in the refrigerator for at least 30 minutes to firm up. This will help them hold their shape when coating.
- Melt the chocolate: While the balls are chilling, melt the chocolate melting wafers or chocolate chips. You can do this in a microwave-safe bowl in 30-second intervals, stirring after each, until smooth. Alternatively, use a double boiler.
- Coat the balls: Dip each chilled Oreo ball into the melted chocolate, turning to fully coat. Use a fork or a dipping tool to gently lift the ball out, allowing excess chocolate to drip off.
- Set and decorate: Place the coated balls back on the parchment-lined baking sheet. If desired, sprinkle with extra crushed Oreos, sprinkles, or a drizzle of contrasting melted chocolate before the coating sets. Return to the refrigerator for another 30 minutes, or until the chocolate is fully set.
Tips & Variations
- Perfecting Your Roll: If your mixture is a bit too sticky to handle, pop it in the fridge for 10-15 minutes before rolling. Too crumbly? A tiny extra drizzle of melted butter (1/2 teaspoon at a time) will bring it right together.
- Smooth Chocolate Dip: For that glossy finish, make sure your melted chocolate isn’t scorching hot. Work swiftly! If it thickens, a quick reheat or a touch of coconut oil (1 teaspoon) will restore its silky consistency.
- Easy Flavor Twists: Don’t be afraid to experiment! Swap classic Oreos for mint, peanut butter, or golden varieties. A pinch of espresso powder for a mocha kick or a dash of peppermint extract adds a lovely surprise.
- Quick Decoration Ideas: Elevate your balls with ease! Before the chocolate sets, sprinkle with flaky sea salt, a handful of mini chocolate chips, or colorful sprinkles for instant festivity.
- No Fancy Equipment Needed: No food processor? No problem at all! A sturdy zip-top bag and a rolling pin work just as well for crushing your Oreos into fine crumbs. Easy peasy!
Serving & Storage Suggestions
These versatile No Bake Oreo Balls are truly perfect for *everyday* enjoyment! Serve them chilled on a simple plate after a weeknight family dinner, pop a couple into lunchboxes for a delightful surprise, or arrange them in mini cupcake liners for a simple party treat. They’re also a thoughtful, homemade gift. Leftovers are a breeze to store: keep them in an airtight container in the refrigerator for up to two weeks, or freeze them for up to a month. Just remember to thaw them in the fridge before you’re ready to indulge again!
And there you have it – a delightful, fuss-free dessert that proves deliciousness doesn’t need to be complicated! We truly hope these Easy No Bake Oreo Balls become a go-to in your repertoire for Everyday Easy Meals. Give them a whirl, and let us know how they turned out in the comments below – we love hearing from you! Happy no-bake creating!
Easy No Bake Oreo Balls No Cream Cheese

Whip up these delightful no-bake Oreo balls, a truly easy dessert made with just four ingredients – no cream cheese or condensed milk needed!
Ingredients
- 1 (14.3 oz) package Oreo cookies
- 1/2 cup unsalted butter, melted
- 1 teaspoon vanilla extract
- 10-12 oz chocolate melting wafers or chocolate chips
Instructions
- Prepare the Oreos: Place the entire package of Oreo cookies (cream filling and all) into a food processor. Pulse until finely ground into crumbs. If you don't have a food processor, place the cookies in a large zip-top bag and crush them with a rolling pin until fine.
- Combine ingredients: Transfer the Oreo crumbs to a large mixing bowl. Add the melted butter and vanilla extract. Mix well with a rubber spatula or spoon until the mixture is thoroughly combined and starts to come together.
- Form the balls: Roll the mixture into 1-inch balls. The mixture should be easy to handle and hold its shape. Place the formed balls on a baking sheet lined with parchment paper or wax paper.
- Chill: Place the baking sheet with the Oreo balls in the refrigerator for at least 30 minutes to firm up. This will help them hold their shape when coating.
- Melt the chocolate: While the balls are chilling, melt the chocolate melting wafers or chocolate chips. You can do this in a microwave-safe bowl in 30-second intervals, stirring after each, until smooth. Alternatively, use a double boiler.
- Coat the balls: Dip each chilled Oreo ball into the melted chocolate, turning to fully coat. Use a fork or a dipping tool to gently lift the ball out, allowing excess chocolate to drip off.
- Set and decorate: Place the coated balls back on the parchment-lined baking sheet. If desired, sprinkle with extra crushed Oreos, sprinkles, or a drizzle of contrasting melted chocolate before the coating sets. Return to the refrigerator for another 30 minutes, or until the chocolate is fully set.
