
The holidays are a time for creating magical memories, and what better way to do that than with a stunning edible centerpiece? This Gingerbread Village Cake is designed to bring pure joy and a touch of whimsical wonder to your festive celebrations, without requiring professional baking skills. Imagine the delight on everyone’s faces as they gather around a dessert that looks like it stepped right out of a fairy tale! We’ll guide you step-by-step through baking a wonderfully spiced sponge cake and then transforming it into an enchanting mini gingerbread village, complete with charming houses and snowy landscapes. It’s a fantastic project for a festive weekend, offering a creative outlet that results in a truly impressive Christmas Decor Cake. Get ready to bake a delicious memory that will warm hearts and impress guests!
Helpful Tips
- **Achieving Perfectly Flat Cake Layers:** No one wants a wobbly cake! To ensure your cake layers stack beautifully, once your cakes are out of the oven and have cooled in their pans for about 10 minutes, invert them onto a wire rack. While still slightly warm, gently place a clean kitchen towel or even another flat cake pan on top of each layer for a few minutes. The slight weight helps to press down any domes, resulting in wonderfully flat surfaces ready for icing. If you still have a significant dome, you can carefully trim it level with a serrated knife once the cake is completely cool.
- **Mastering Royal Icing Consistency:** This is crucial for successful decorating! For outlining your gingerbread pieces, the royal icing should be thick, like toothpaste – it holds its shape and creates crisp lines. For ‘flooding’ (filling in those outlines), thin it slightly with a few drops of water until it’s more like honey or thick syrup and self-levels smoothly. For piping structural elements like snow drifts, icicles, or securing houses, keep it very stiff, like peanut butter. Always add water or powdered sugar gradually, a tiny bit at a time, to achieve the desired consistency.
- **Unleash Your Inner Architect & Decorator:** Don’t feel confined to just tiny houses! This is your gingerbread village, so let your imagination run wild. Craft gingerbread trees (use a star cookie cutter in graduating sizes!), create little gingerbread people, or even miniature fences. For decorations, gumdrops, mini M&M’s, and sprinkles are classics, but consider tiny silver dragees for a touch of elegance, edible glitter for sparkle, or even crushed peppermints for a festive pop of color.
- **Smart Prep for Stress-Free Decorating:** This cake looks elaborate, but smart planning makes it manageable. The gingerbread houses and trees can be baked and fully decorated several days, or even up to a week, in advance. Store them in an airtight container at room temperature. The cake layers themselves can also be baked 1-2 days ahead, wrapped tightly in plastic wrap, and stored at room temperature. You can even freeze them for up to a month! This allows you to spread the work out and enjoy the decorating process without feeling rushed.
- **Make it Your Own: Flavor & Dietary Swaps:** While the spiced gingerbread cake is a classic, feel free to experiment. A touch of orange zest in the cake batter adds a lovely citrus note, or a pinch of white pepper can deepen the spice. For a gluten-free version, simply substitute the all-purpose flour in both the cake and gingerbread dough with your favorite 1:1 gluten-free baking blend that includes xanthan gum (or add ½ teaspoon per cup of flour if it doesn’t).

Ingredients
- 2 ½ cups all-purpose flour
- 1 ½ teaspoons baking soda
- 1 teaspoon ground ginger
…and more!
Easy Gingerbread Village Cake: Festive Christmas Decor Ideas
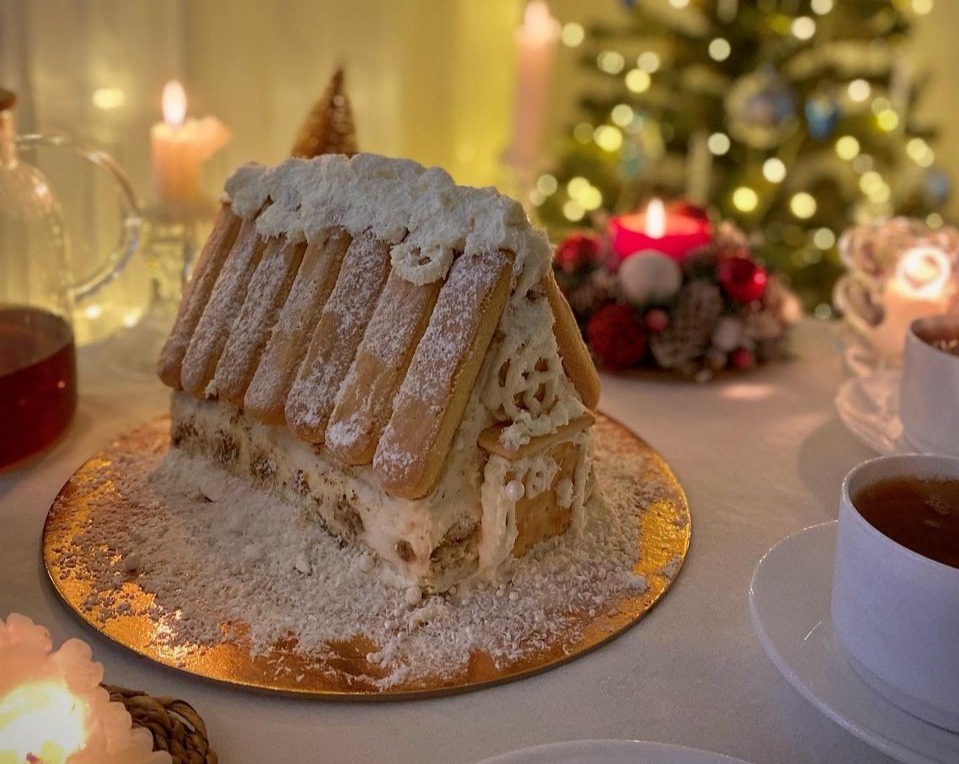
Transform your holiday table with this charming Gingerbread Village Cake, an easy-to-make spiced sponge cake beautifully decorated with homemade gingerbread houses and glistening royal icing snow, perfect for festive family gatherings.
Ingredients
- 2 ½ cups all-purpose flour
- 1 ½ teaspoons baking soda
- 1 teaspoon ground ginger
- 1 teaspoon ground cinnamon
- ½ teaspoon ground nutmeg
- ½ teaspoon ground cloves
- ¼ teaspoon salt
- 1 cup (2 sticks) unsalted butter, softened
- 1 cup packed light brown sugar
- 2 large eggs
- ½ cup molasses
- 1 cup buttermilk
- 4 large egg whites (or 1 cup meringue powder + 6 tbsp water)
- 4 cups powdered sugar, sifted
- 1 teaspoon vanilla extract
- ½ teaspoon cream of tartar (if using egg whites)
- 1 cup (2 sticks) unsalted butter, softened (for gingerbread decorations)
- 1 cup packed light brown sugar (for gingerbread decorations)
- 1 large egg (for gingerbread decorations)
- ½ cup molasses (for gingerbread decorations)
- 3 cups all-purpose flour (for gingerbread decorations)
- 2 teaspoons ground ginger (for gingerbread decorations)
- 1 teaspoon ground cinnamon (for gingerbread decorations)
- ½ teaspoon ground cloves (for gingerbread decorations)
- ½ teaspoon baking soda (for gingerbread decorations)
- ¼ teaspoon salt (for gingerbread decorations)
- Assorted candies (gumdrops, M&M's, sprinkles)
- Shredded coconut (for snow)
- Powdered sugar (for dusting)
- Christmas-themed edible toppers (optional)
Step-by-Step Instructions : . . .
To Complete Step By Step Instructions Please Head On Over To Next Page Or Open button (>)
